Platform Framework
Updated On 27 May 2024 |
Min(s) read
Configuring WebSphere Liberty Profile
This section explains how to configure WebSphere Liberty profile for T24 solutions with TAFJ. To configure WebSphere Liberty Profile,
- Create a new server.
- Update the configuration files with appropriate values.
Creating Server
To create a server,
- Navigate to WLP_HOME/bin.
- Set the JAVA_HOME and PATH Environment variables appropriately.
- Execute the below command to create a new server.
Server.bat create <<server_name>>
Updating Configuration Files
To update the configuration files with the appropriate values,
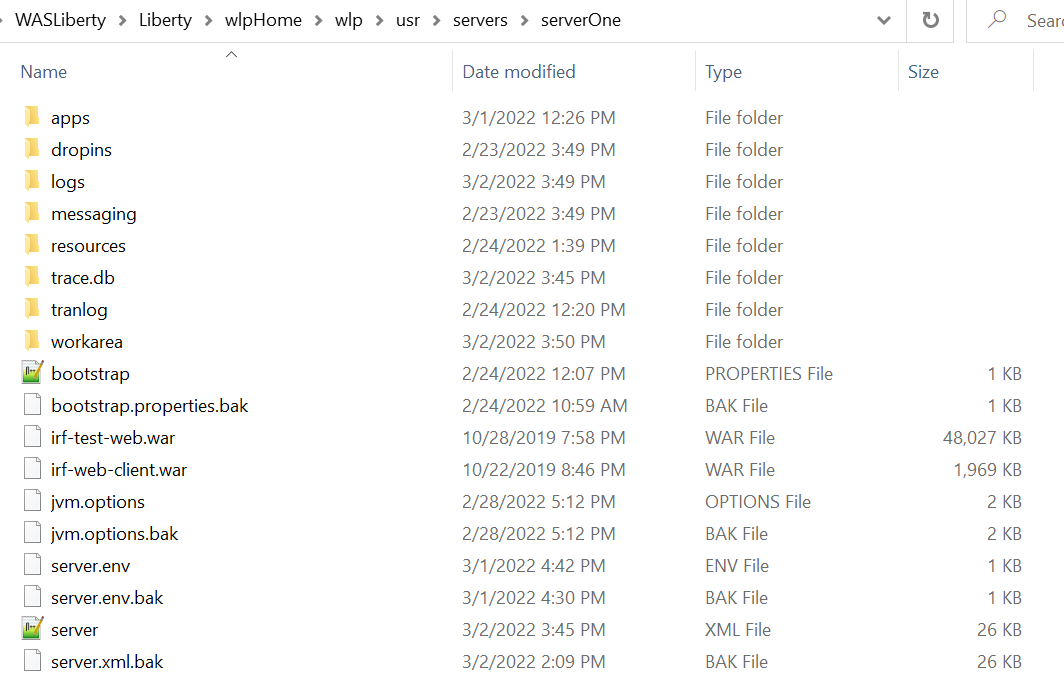
- Copy the following files from defaultServer Configuration to the Server home:
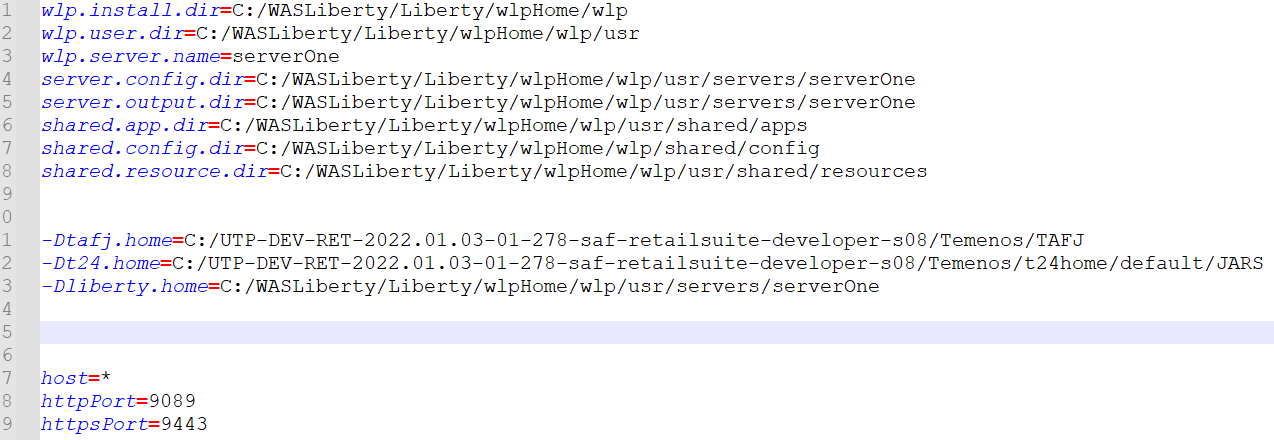
WLP_HOME\usr\servers\<<serverName>> - Modify the bootstrap.xml file with the corresponding values.
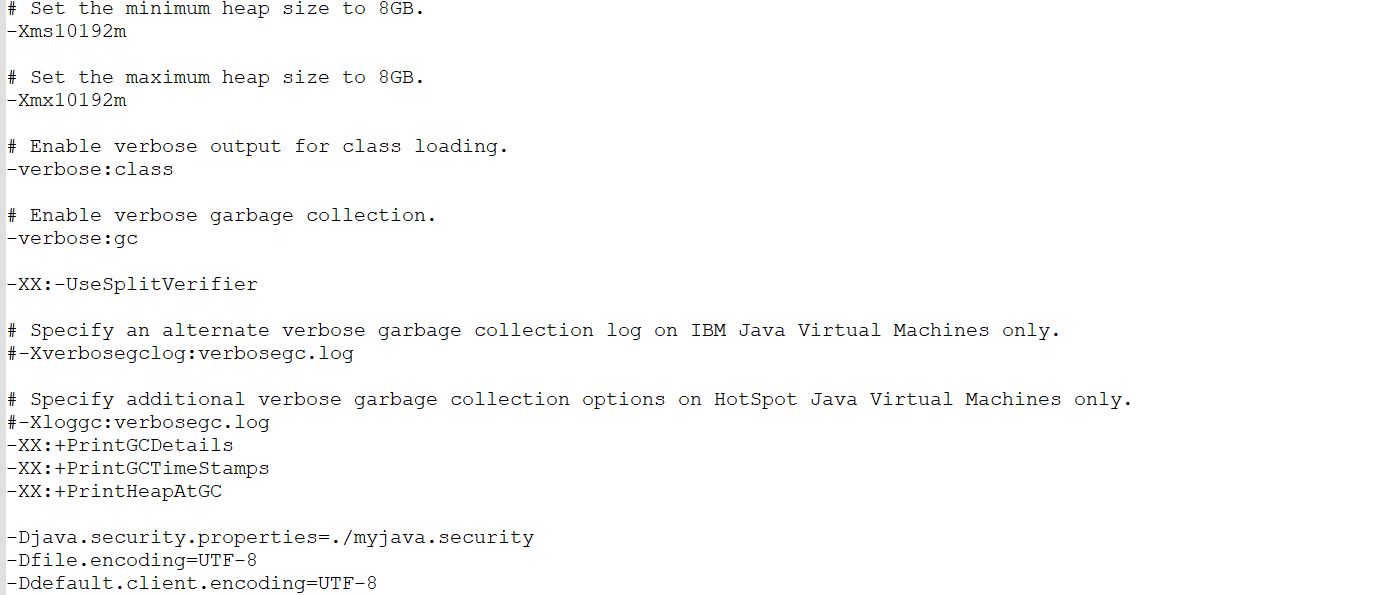
- Modify jvm.options with the corresponding values.
- Update Java Home in server.env.

 server.xml configuration
To configure the server.xml file,
- Create the keystore password using the security utility under WLP_HOME\wlp\bin.
securityUtility createSSLCertificate --server=<<server_Name>> --password=<<Password>> --validity=365 --subject="CN=liberty,O=IBM,C=US"
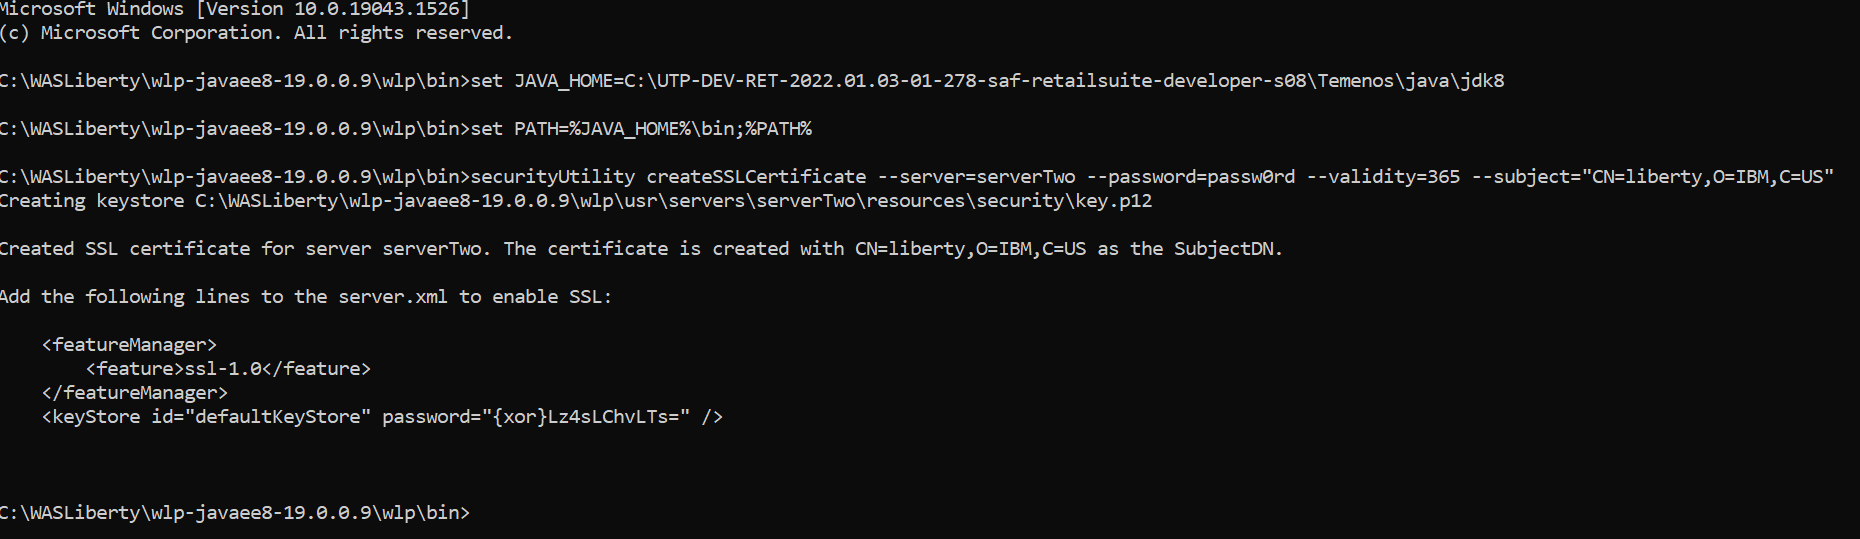
- Update the keystore password in server.xml.

- Encode the password through securityUtility available in the ${wlp.install.dir}/bin directory.
securityUtility encode myPassword

- Add the passwords to server.xml.
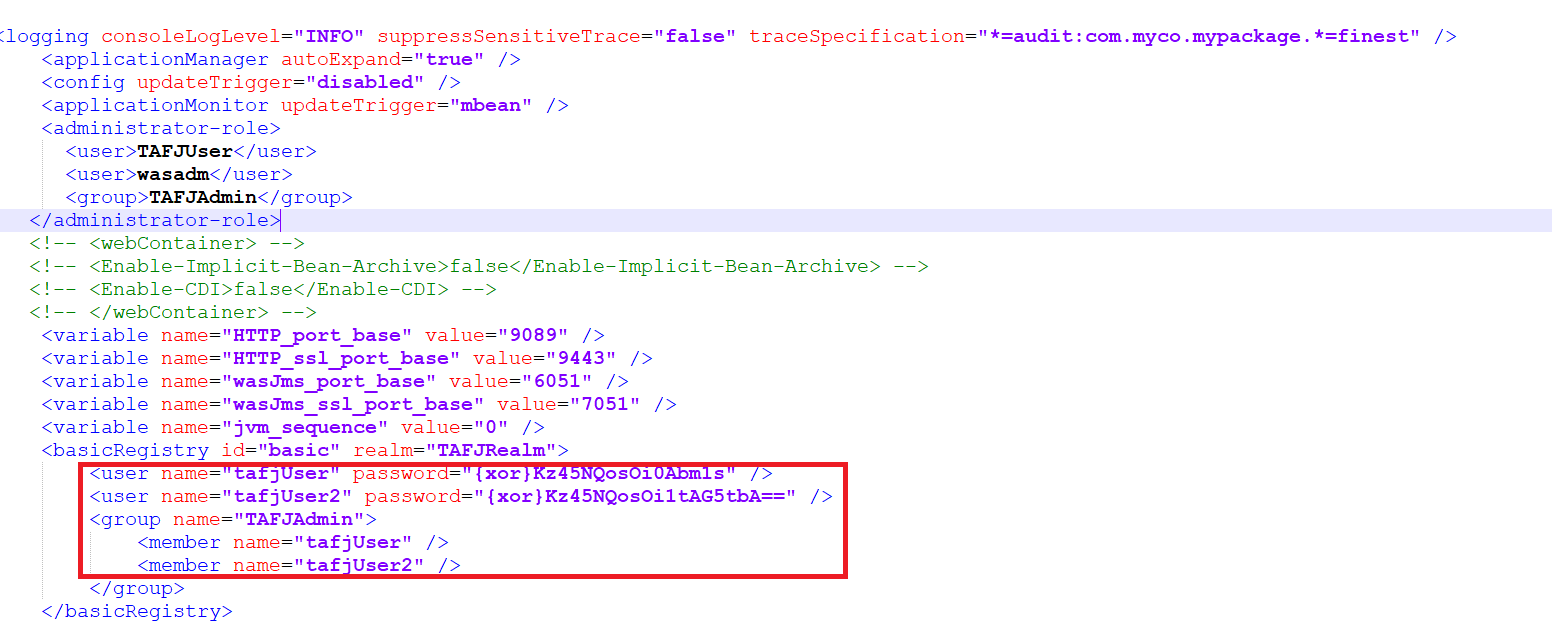
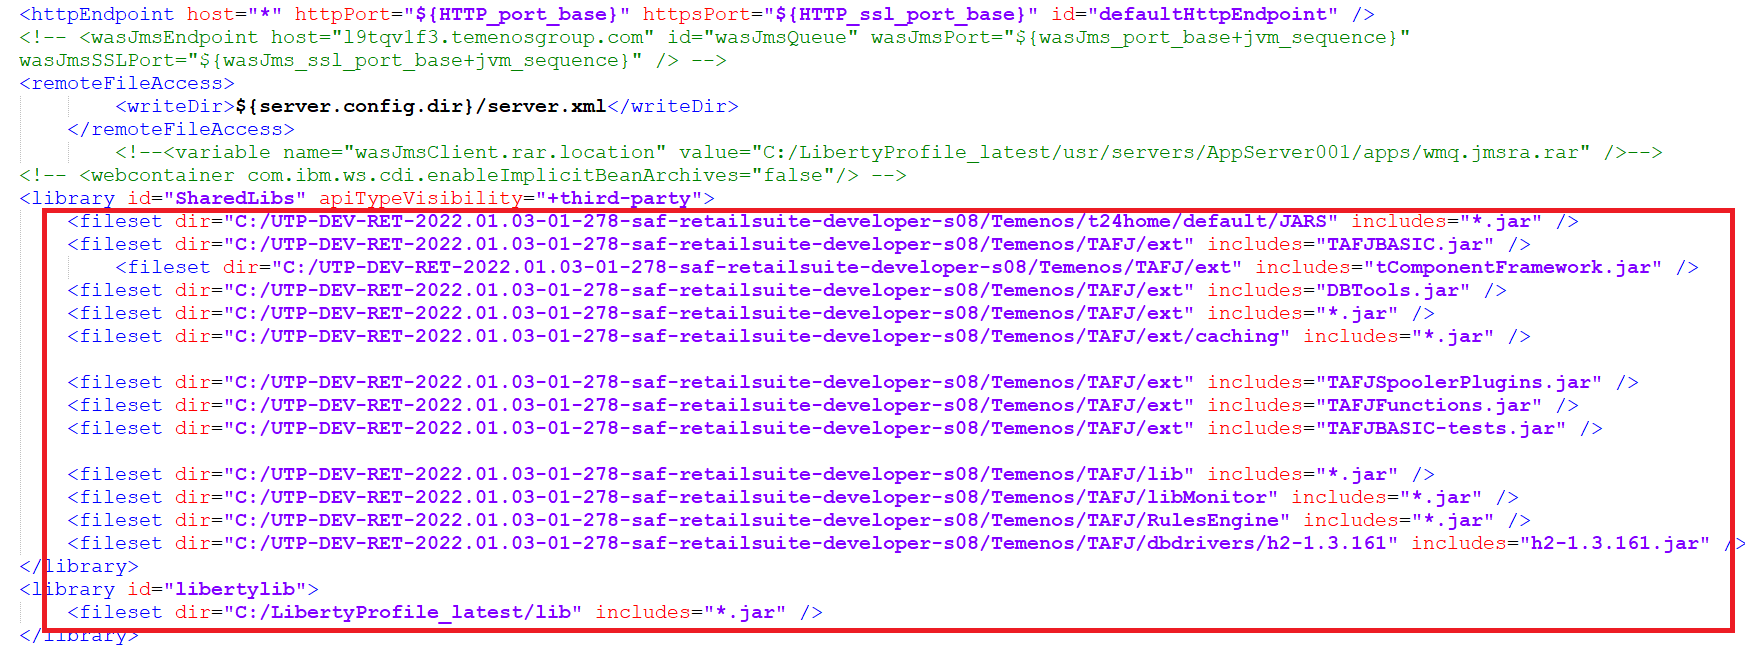
- Update the jars to point to the appropriate location.
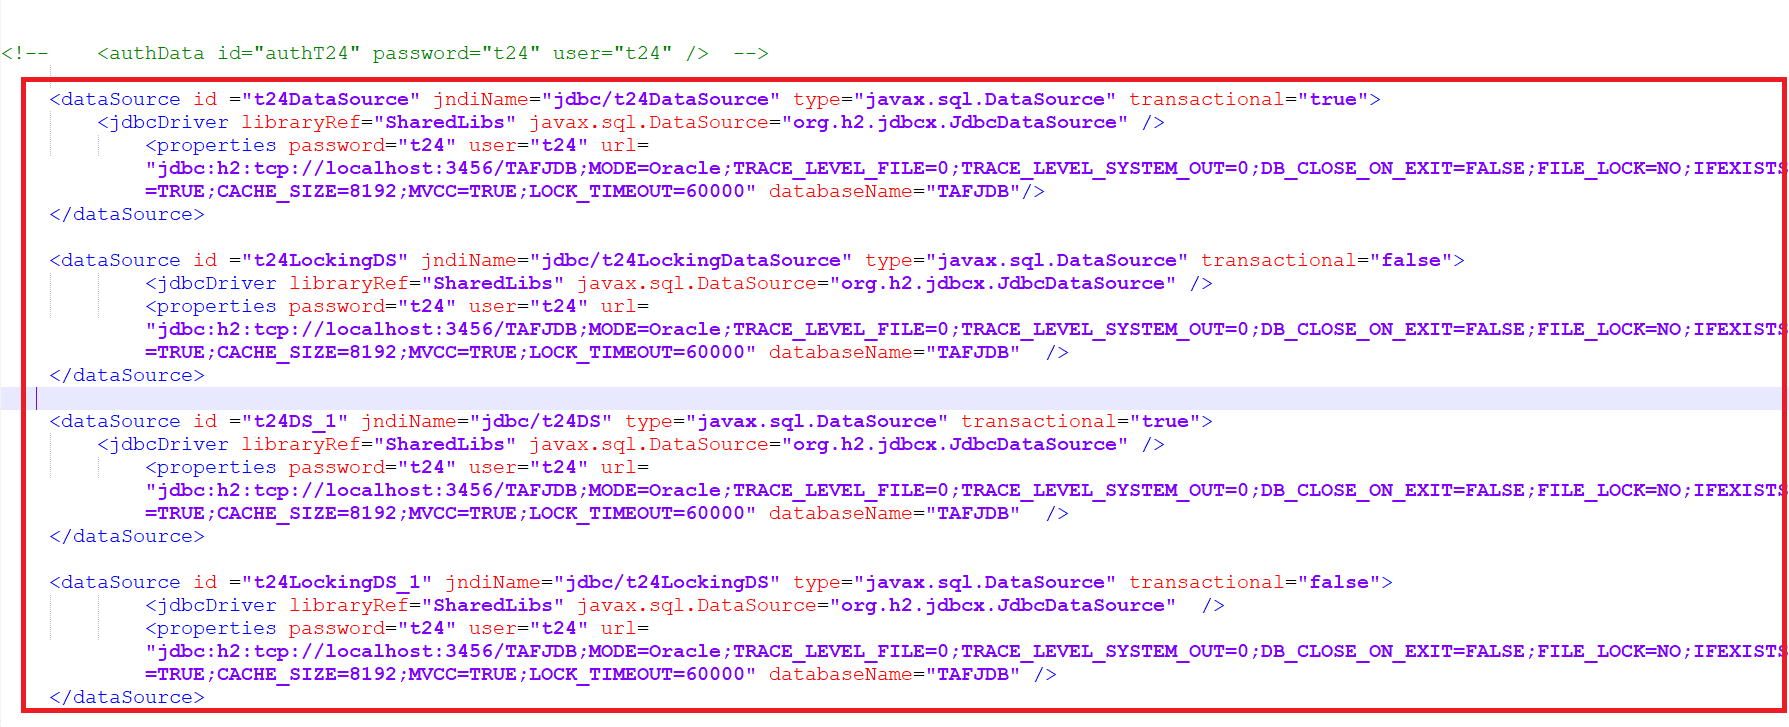
- Provide the appropriate values for the datasources.
- Update the TAFJEE Deployment section as shown below.

- Update the JMS configurations with the appropriate hostname and port number.
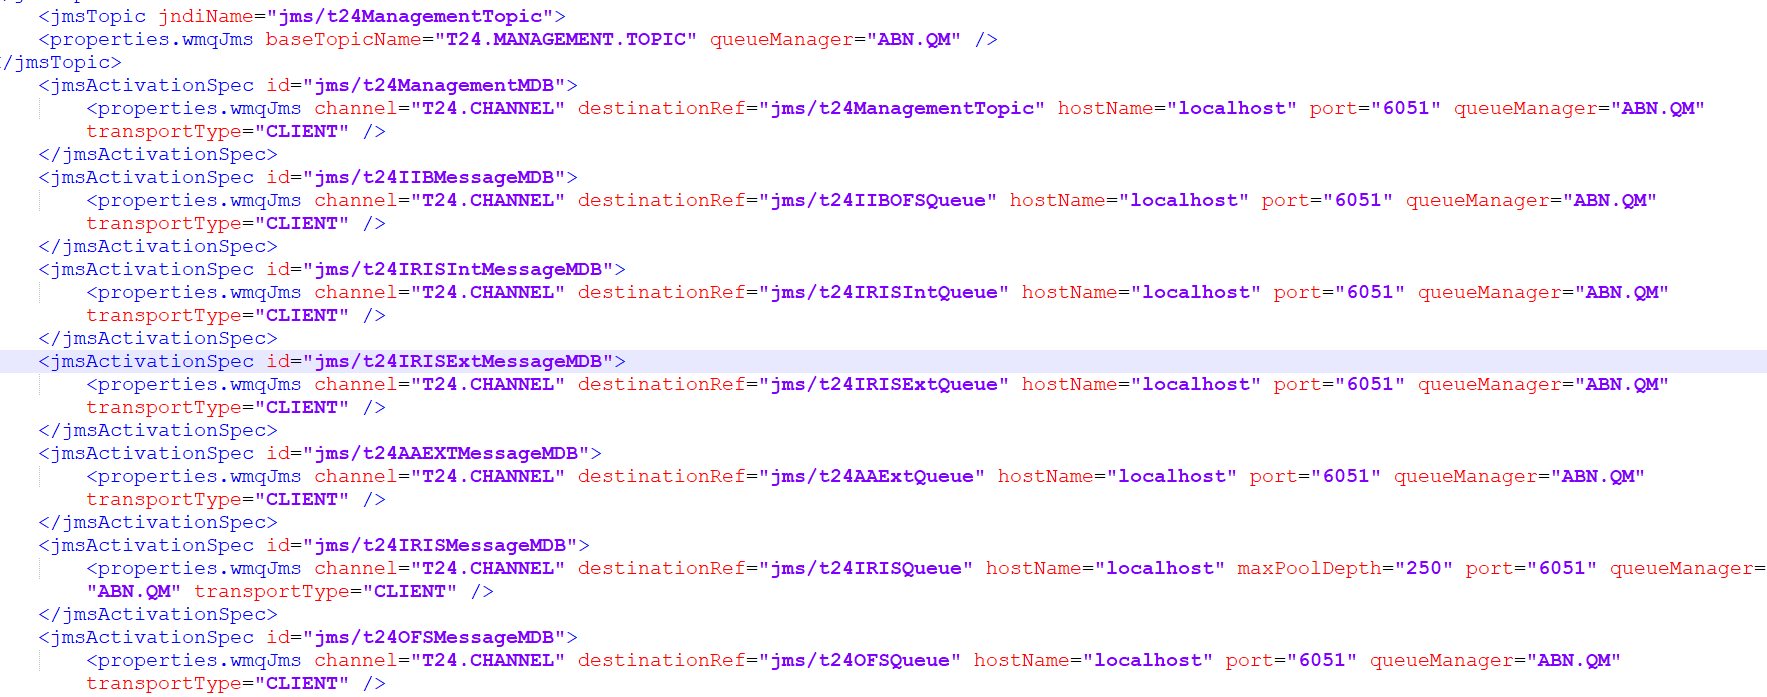
- Once the changes are done, start the server as shown below.

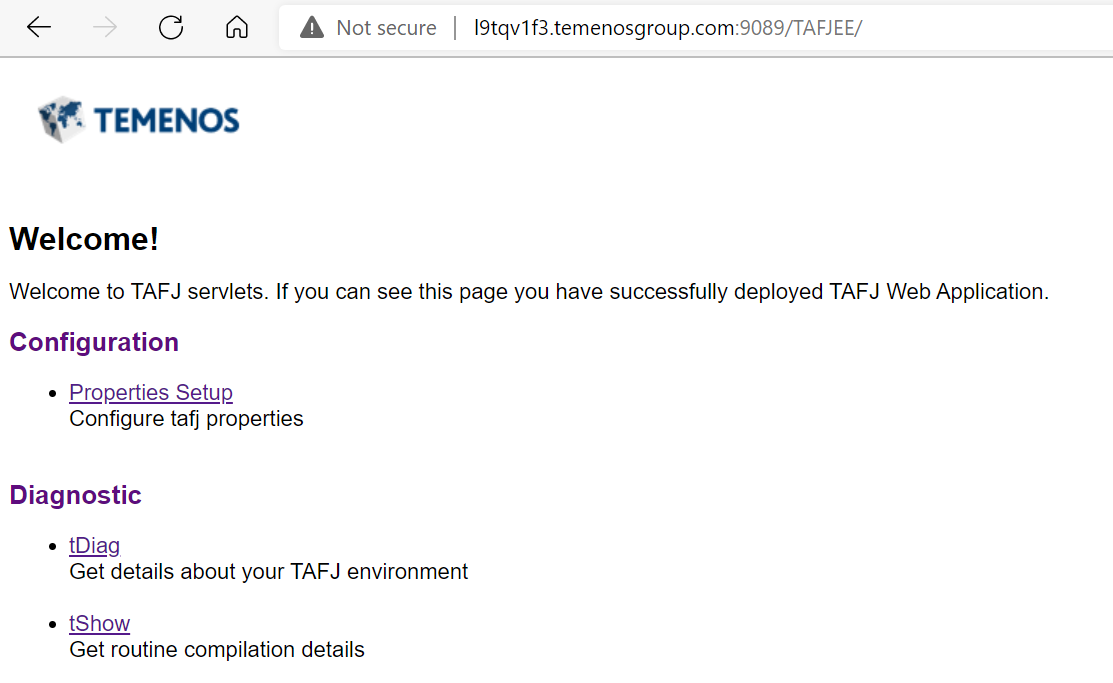
- Verify the deployment by launching the TAFJEE home page.
http://localhost:9089/TAFJEE
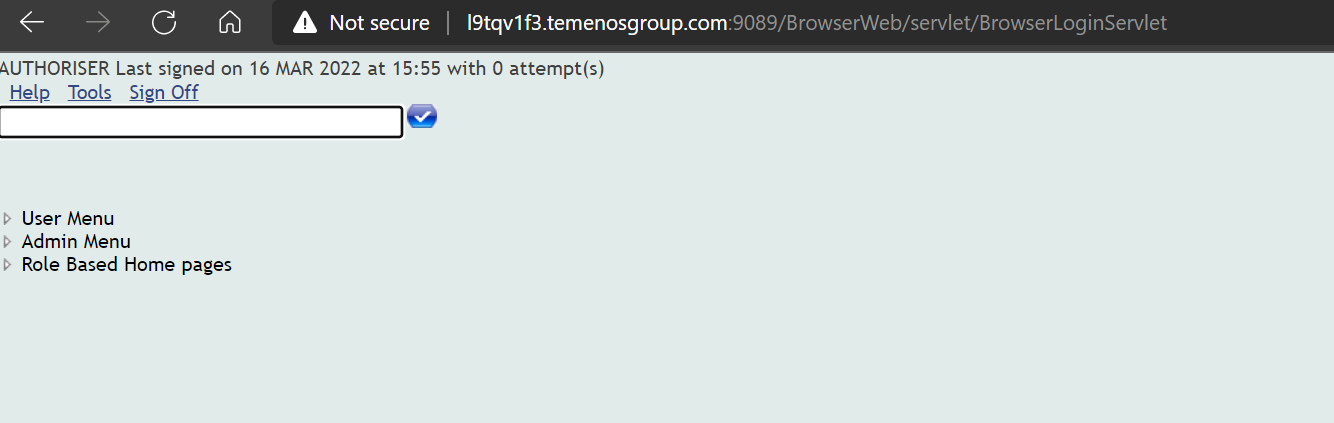
Below is the Browser Web home page post deployment.
In this topic